









Gear usually gives you some warning, but the signs are subtle and easy to miss. It holds up climb after climb, until the one day it doesn’t. Every summer, we see climbers walk into the shop needing new boots on day one of a trip, because last season’s pair gave out.
As the season’s winding down, and before everything gets packed away for winter, it’s worth taking an afternoon to go through your gear.
Think of it as an investment in next season. A little care now means your jacket, rope, or boots are ready to perform when you need them, instead of letting you down at the worst possible moment. Plus TLC now also keeps your gear in better shape if you decide to sell or trade it in down the line.
Below, we'll walk through the major categories of mountaineering gear: how to wash it, what to look for when you inspect it, what can be repaired versus what can't, how to tell when it's time to replace something, and how to store it so it's ready to go next season.
Five Rules for Storing Any Gear
Before we get into specific gear, here are five ideas that apply to almost everything you own.

- Clean. Wash gear properly before it goes away, using the right product for the material. That means a down wash for down and a tech wash for shells and other technical fabrics. Avoid regular detergents, which can be hard on synthetic fabrics. Dirt does most of its damage while you’re using your gear, not while it’s in storage. Grit grinds against the fibers with every movement, a kind of micro abrasion that slowly wears the material down. Body oils work more slowly. Over time they can break down DWR coatings and clog the pores in breathable fabrics like Gore-Tex.
- Dry. Damp gear gets moldy and musty, but that's not the only problem. Moisture also speeds up hydrolysis, the slow, natural breakdown of the polymer chains in plastics and synthetic materials. It matters most for gear that needs real structural integrity, like ropes and tents. Let everything dry all the way before it goes into storage.
- Cool. Heat speeds up hydrolysis too, and mold and mildew thrive in warm spots. That rules out the attic, the hot garage, and the trunk of your car.
- Dark. UV damage adds up over a long winter, even when the light at any one moment is low. A closet or a bin is a better home than a shelf by the window.
- Repair. Gear that's fixed now is gear that's ready to go in the spring, with no scramble the week before a trip. Fix it before you store it.
One more thing…always follow the manufacturer's recommendations! Brands like Patagonia, Arc'teryx, MSR, Mammut, Scarpa, Rab, Outdoor Research, and Black Diamond publish care and repair guides for their own products, and they know their materials best. That goes double for life safety gear like ropes, harnesses, hardware, and helmets.

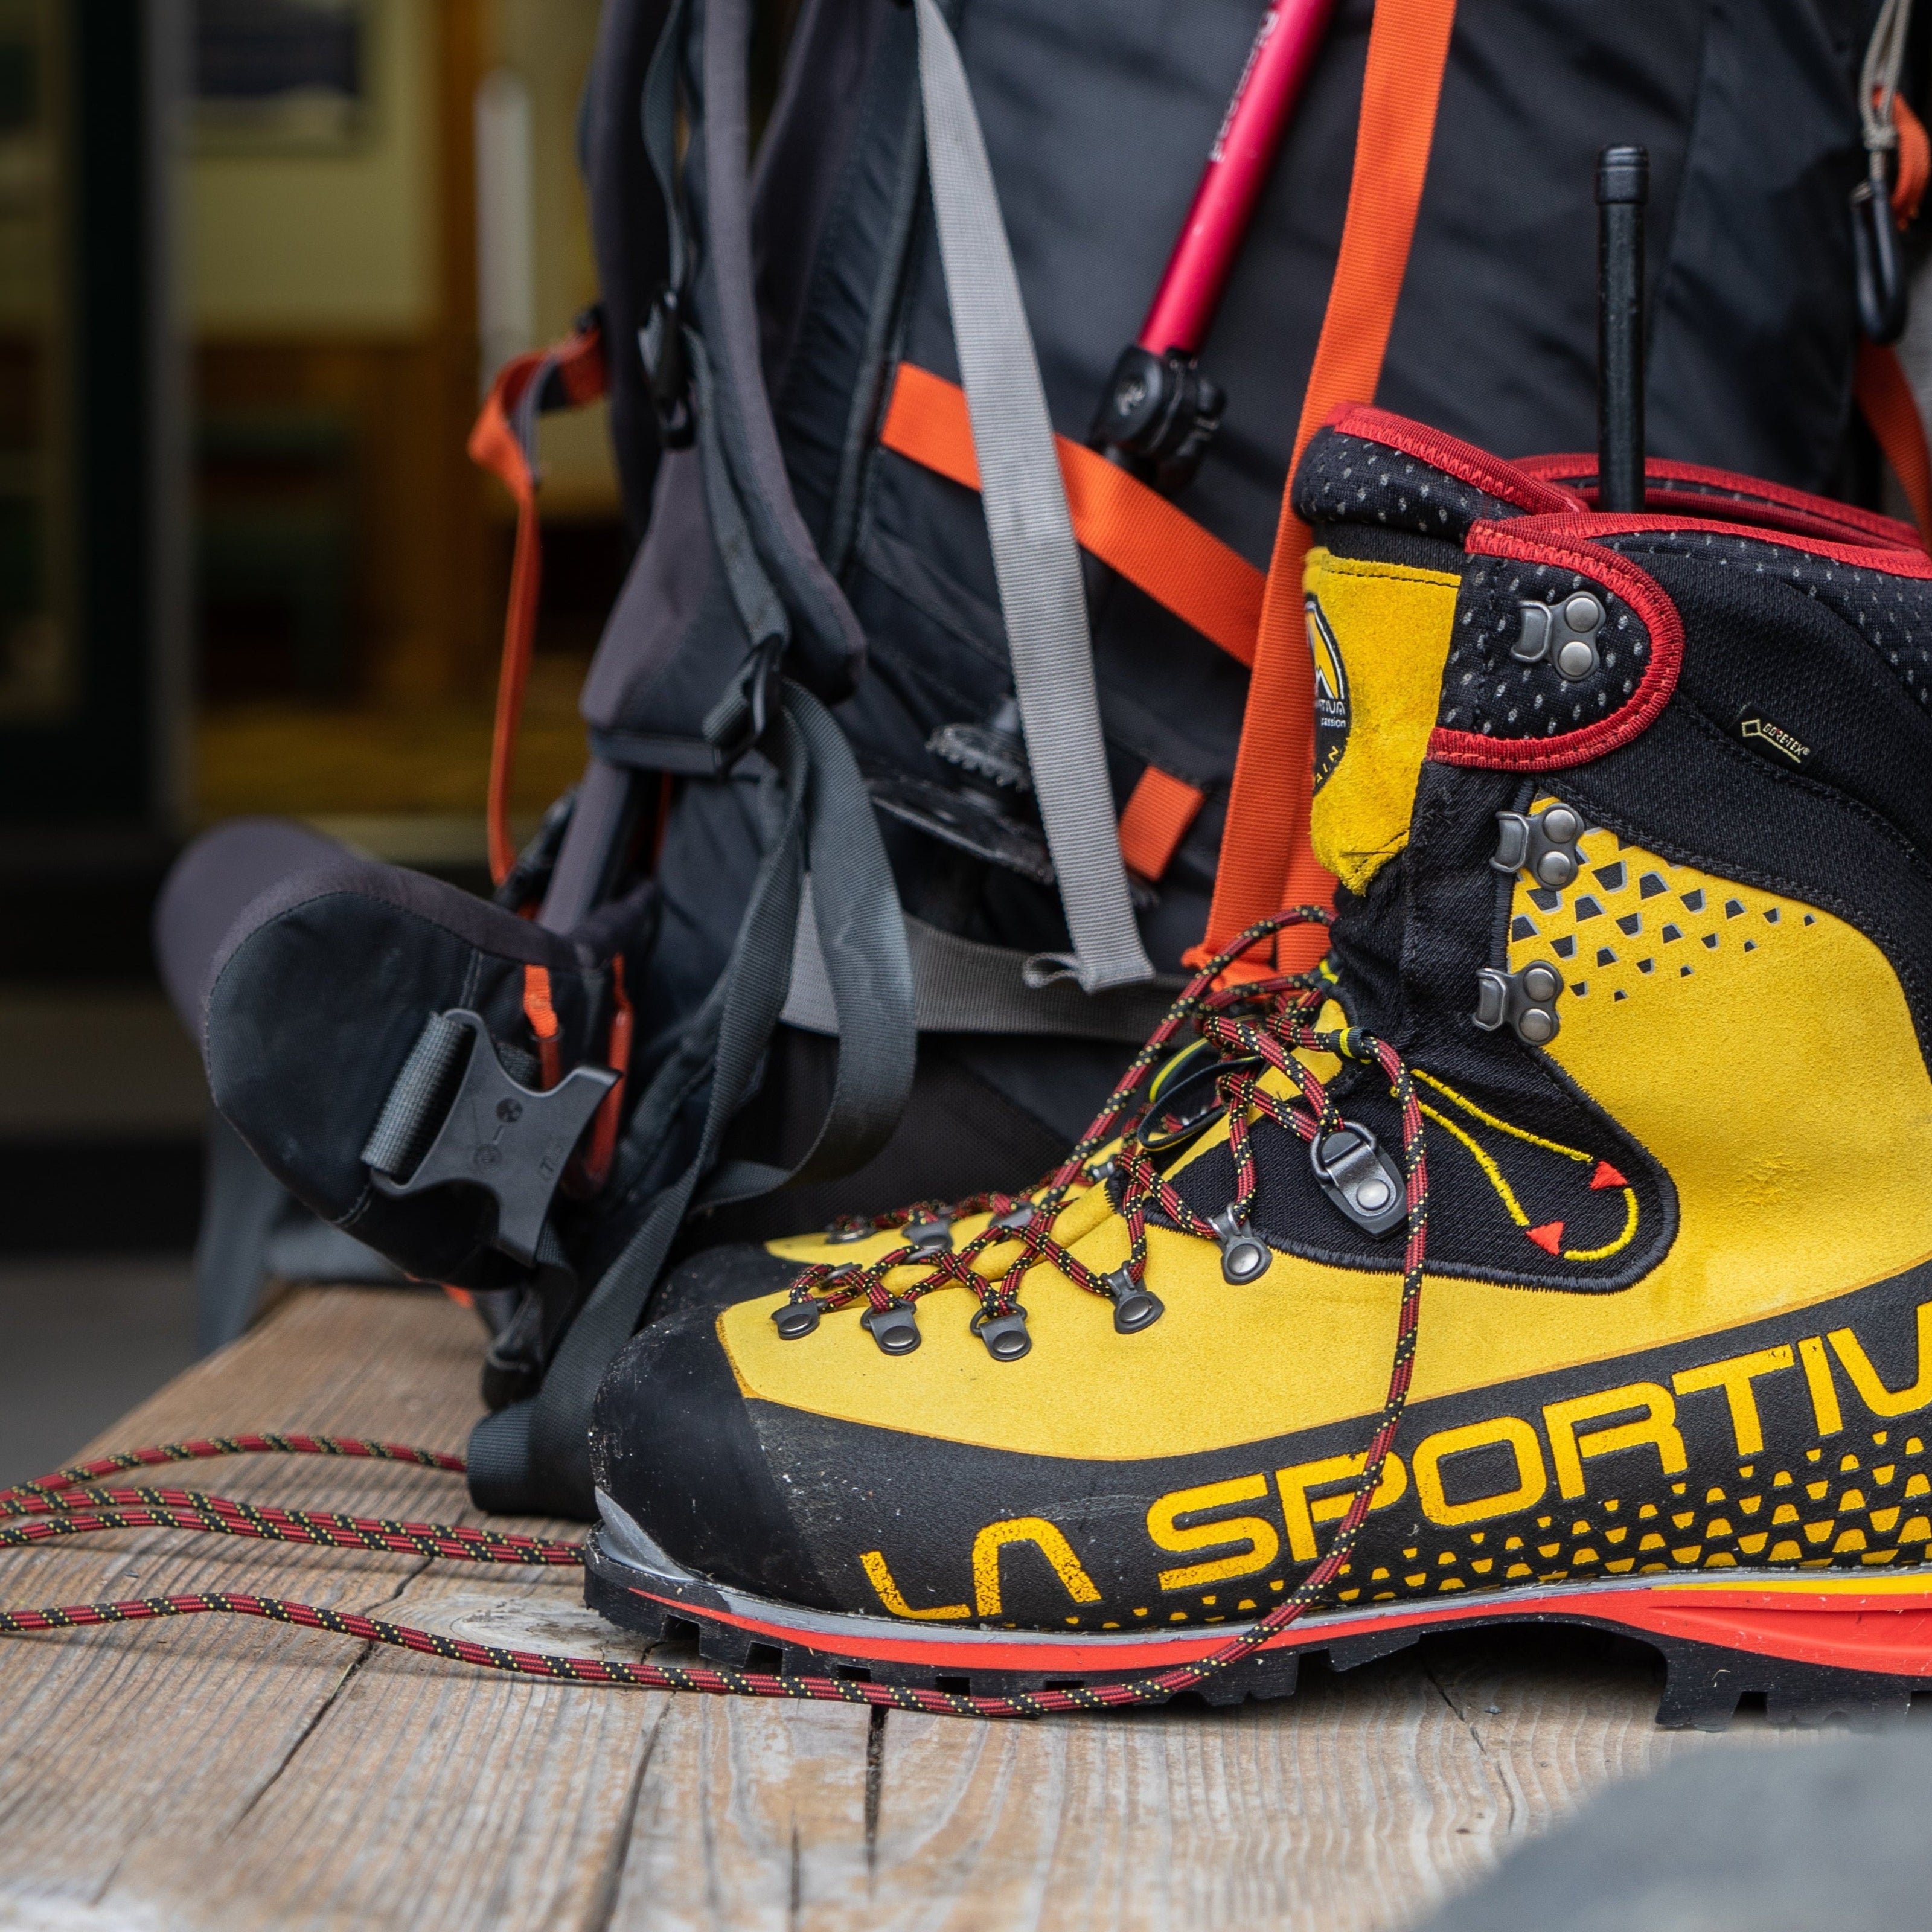
Wash: Brush off caked-on dirt and mud, pull the insoles and liners out, and let everything air dry away from direct heat. The goal is to get the water out. Heat from a heater vent or a spot next to the woodstove pulls the natural oils and moisturizers out of leather, which can leave it stiff and cracked and shorten the life of your boots.
Inspect: Check for sole separation at the edges, look over the welt for cracking, and feel the upper for stiffness or delamination. If you have liners, check them for pack-out, the compressed, flattened feeling that means they've lost their insulating loft.
Repair: A lot of damage on mountaineering boots is repairable. One common one: crampon points catching and tearing the built-in gaiter. Our rental shop sews those gashes closed and seals them with Aquaseal, and it's a reliable fix. A specialized cobbler can often resole a boot or rebuild a worn welt, which is usually worth doing if the rest of the boot is solid. The general rule: if the shell and structure are sound, repair is almost always cheaper than replacing.
Replace Signal: If the shank has lost its stiffness or you can see delamination between layers, that's a structural issue, not a cosmetic one, and it's time to start looking at new boots.
Store: Keep them somewhere cool and dry, away from any heat source. Stuffing them loosely with newspaper or using boot trees helps them keep their shape over the winter. Lacing them up before you put them away works too, and it's a simple way to keep the boot from collapsing in on itself in storage.

Wash: Rinse off dirt and grit, and make sure they're completely dry before you put them away. Any moisture left on the metal is an invitation for rust over the winter.
Inspect: Look at point wear, check that the bails and bindings are moving and locking the way they should, and take a look at the anti-bot plates to make sure they're still doing their job of shedding snow.
Repair: Straps and bails are easy to replace and usually not worth stressing over. Sharpening is the one that deserves more detail, because it's not as simple as a quick swipe with a file. Different crampon points call for different approaches: vertical front points, horizontal front points, and secondary points often need different file shapes and angles to sharpen correctly, and it's easy to round off a point or take off more metal than you meant to. For example, a flat mill file works for some styles, while others call for a triangular or specialty file to get into the point's shape. The material matters too. Depending on your model, the points may be steel or aluminum, and they handle resharpening very differently. Steel is a lot more resistant, while with aluminum you can take off a lot of metal in just a few passes. That’s one more reason to be sure you know what you’re doing. A vise helps a great deal as well, since it’s very hard to file a point accurately without something holding the crampon solidly in place. If you've never done it before, look up guidance specific to your crampon model before you start filing away.
Replace Signal: If a point has been filed down past the manufacturer's spec, or you see stress cracks in the frame itself, that's a safety issue and the crampon should be retired.
Store: Keep them dry to avoid rust. Point protectors exist, but honestly, most climbers never bother with them. A heavy-duty gear bag or just wrapping the points in an old towel works just as well to keep them from poking through and gouging other gear.

Wash: Rinse off dirt and grit, then dry it fully before storage to prevent rust on the metal.
Inspect: Follow your manufacturer's inspection guidelines. Check the pick and adze or hammer for chips or excessive wear, make sure the shaft hasn't bent or cracked, and if you have a leash, check it for fraying at the attachment point.
Repair: If your manufacturer recommends it, a pick can be sharpened when the damage is minor, similar in spirit to crampon sharpening. Follow their guidelines on how much material is safe to remove. Leashes are easy and inexpensive to replace.
Replace Signal: A bent shaft is a safety issue, not a cosmetic one, and should mean retiring the axe. The same goes for a pick that's been filed down past what the manufacturer specifies. Some axes also have attachment points for a removable pick and adze or hammer. Those connections can wear too, especially if you swap heads often.
Store: Keep it dry, away from moisture, and somewhere the pick won't be banging around against other gear in storage.

Wash: Rinse off dirt and grit, then dry them fully so corrosion doesn't set in over the winter.
Inspect: Check for bends and cracks, and look over any webbing and wire for wear or fraying.
Repair: If your pickets use webbing, plan on putting on fresh webbing in the spring.
Replace Signal: A cracked picket, or one that's bent past straightening, should be retired.
Store: Even though pickets are almost always made from aluminum and will show no structural or even aesthetic difference if left wet, keep them dry and out of the elements.

Your rope is life safety equipment, so your manufacturer's guidelines come first.
Wash: A bathtub soak with rope wash or a mild soap works well. You can also wash a rope in a front-loading washing machine, chained into a daisy chain (also called a chain sinnet) so it doesn't twist or tangle, using soap rather than regular detergent. Either way, skip harsh detergents. It is also recommended to thoroughly get all soap residue off ropes, as it can attract dirt. Don't dry the rope in direct sun, since UV exposure degrades the fibers.
Inspect: Run the full length through your hands, feeling and looking for flat spots, soft spots, or stiff sections. This is harder than it sounds. A rope's sheath can take visible damage while the core underneath is completely fine, and distinguishing cosmetic wear from damage that actually compromises the rope isn't something we'd recommend trying to judge on your own without training. If you're at all unsure what you're looking at, have someone with rope inspection experience take a look. If there’s any doubt, don't climb on it.
Repair: Most rope damage isn't something you repair in the traditional sense. The one exception: because damage often shows up near the ends from repeated falls or wear at the anchor, you can sometimes cut off the damaged section and climb on the shortened rope. That only makes sense if the rest of the rope's integrity is impeccable. The same goes for the cut itself. Cutting a rope and finishing the new end so it doesn’t fray depends on what the rope is made of, and must be done correctly. If you’re not sure, have someone with experience do it.
Replace Signal: Any core damage, a high fall count, or simply age, even with no visible wear, are all reasons to retire a rope. Ropes don't last forever regardless of how well you treat them and it is imperative to replace them based on manufacturers retirement guidelines.
Store: Coil it loosely rather than tightly, and keep it out of direct UV and away from chemicals including cleaners and paint or battery corrosion, all of which can damage the fibers.

Your harness is life safety equipment, so your manufacturer's guidelines come first.
Wash: Mild soap and water is all it needs. Skip the detergent and bleach, which can be hard on the materials. Hang it to dry out of direct sunlight.
Inspect: Go over the webbing, stitching, tie-in points, and buckles, following your manufacturer's inspection guidelines. You're looking for fading of color, as this is usually an indicator or UV damage, fraying, cuts, worn or fuzzy patches, and stitching that's starting to come apart.
Replace Signal: Follow the manufacturer's retirement guidance, which usually takes both age and use into account. If you see frayed webbing, damaged stitching, or anything you're unsure about, don't take a chance on it.
Store: Keep it somewhere cool, dry, and out of sunlight, and away from chemicals like fuel or cleaning products.

Carabiners, belay devices, and the rest of your hardware are life safety equipment too. Read your manufacturer's inspection guidelines closely and follow them.
Wash: Rinse off dirt and grit, then dry it fully. Grit left in a gate or hinge can keep it from closing cleanly.
Inspect: Check for cracks, sharp edges, and deep grooves worn in by the rope. Open and close every gate to make sure it moves smoothly and locks the way it should.
Replace Signal: Go by what your manufacturer's guidelines say. If you're ever unsure about a piece, retire it. It isn't worth the risk.
Store: Keep it dry and away from anything corrosive, like battery acid or cleaning chemicals.

Wash: Mild soap and water, then let it air dry away from heat. Heat can warp or weaken the shell and the foam inside.
Inspect: Follow your manufacturer's guidelines. Look the shell over for cracks and dents, and check the straps, buckles, and suspension for wear.
Replace Signal: If a helmet has taken a hard hit, retire it, even if it looks fine. Damage to the foam inside isn't always visible from the outside.
Store: Keep it cool and out of the sun, somewhere nothing heavy will sit on it.

Wash: Spot clean tents. The mesh panels especially don't hold up well to a washing machine. A sponge, mild soap, and water will handle most dirt and grime.
Inspect: Look over the seam tape for peeling, check the shock cord in the poles, test every zipper, and check the floor for abrasion. Also inspect the fly for gashes and observe overall fading, which indicates UV damage that can result in structural failures of the fly in windy conditions.
Repair: If waterproofing failures are a localized issue, re-waterproofing is straightforward with a seam sealer or spray-on treatment. Gashes in the fly can be patched. Pole splints handle a bent or cracked pole segment. Zippers are worth repairing when the issue is a stuck slider or misalignment, but a zipper that's lost its teeth is usually a sign to move on, though some manufacturers offer excellent warranty support and repairs for a low cost or free.
Replace Signal: Repeated pole failures or fabric that's visibly degraded from UV exposure (faded, chalky, brittle, or losing its coating) both point toward replacement rather than another repair. Some manufacturers will sell replacement parts for their tents through their warranty departments. Replacing a subcomponent like a UV degraded fly is significantly cheaper than replacing the entire tent.
Store: Make sure the tent is completely dry before you store it. Stuff it loosely into its sack rather than rolling it tightly, and avoid leaving the poles under tension all winter, since that can weaken the shock cord and the pole segments over time.

Wash: Down bags do best with a technical down wash, like Nikwax Down Wash or Grangers Down Wash. Synthetic bags are fine with a regular technical wash. Skip regular detergent either way, since it can strip the natural oils from down and is hard on synthetic fabrics. Use a gentle cycle, then dry it on low heat with a few dryer balls to break up clumping.
Inspect: Check the seams and zippers, and feel through the bag for cold spots or thin patches where the fill has shifted.
Repair: Small tears can be patched before more fill works its way out. A zipper that snags is worth sorting out now, not on the first night of the next trip.
Replace Signal: Loft that won't come back after a wash and a full dry is the big one. If you can feel the insulation has thinned, the fill has broken down for good.
Store: Make sure it's completely dry, then fluff it up. Hang it or store it loosely in a large breathable sack. Just like a down parka, it should never spend the whole off-season compressed in a stuff sack, since squashed insulation loses loft over time.

Wash: Wipe it down with mild soap and water, then let it dry completely, including around the valve, before you pack it away.
Inspect: Check for slow leaks now. The most reliable method is to inflate the pad, submerge it in water, and watch for bubbles. This step is more convenient if you have a large bathtub. If you can't submerge it, brushing soapy water over the seams and valve can also show you where air is escaping, but it should be noted that this method is extremely difficult.
Repair: Small holes are an easy fix with a patch kit. Mark the spot while the pad is still wet so you can find it again once it's dry.
Replace Signal: A pad that keeps losing air overnight even after a patch has usually run out of life. Bulges or bubbles in the pad point the same way.
Store: Keep it clean and dry, and store it flat or loosely rolled instead of creased in a stuff sack all winter. Leaving the valve open lets air move through.

Wash: Empty every pocket and shake out the crumbs and grit. Hand wash with mild soap and water and skip the washing machine, which can be rough on the coatings, foam, and frame. Hang it to dry out of direct sun.
Inspect: Look over the seams, buckles, zippers, and haul loops, and check the foam on the back panel, hip belt, and bottom where you typically put it on the ground for wear.
Repair: Restitching a seam, swapping a buckle, or patching a small tear is usually cheaper than a new pack.
Replace Signal: Torn load-bearing seams, a back panel that's lost its support, or a cracking/ bent frame are hard to fix well and should be reasons to look into a replacement. There are often warranty repairs on these items through the manufacturers.
Store: Make sure it's completely dry, then hang it or store it loosely somewhere cool and dark. Leaving the pockets unzipped lets air move through.

Wash: Hot soapy water cleans stoves and pots well. Make sure everything is completely dry before you pack it away.
Inspect: Check your stove's fuel line and connections for any cracking, look over pot handles and hinges, check utensils for wear, and look over any nonstick coatings. If you run a refillable gas bottle (not the disposable isopro canisters), check the bottle threads for wear or damage too.
Repair: O-rings and seals on stoves are inexpensive and easy to replace, and a loose fitting is usually just a matter of tightening it back down. Most camp kitchen issues are cheap fixes, worth doing before you consider buying something new. If the stove needs more than that, get it serviced now instead of in the spring.
Replace Signal: A stove that won't hold a steady flame, a pot that's dented enough that it no longer sits flat on a burner, or a cracked fuel canister are all good reasons to replace. Damaged nonstick is hazardous if ingested, even in small quantities, so retire any pan where it's scratched or flaking.
Store: If you're storing a refillable gas canister, make sure it's emptied properly first. Check local guidance before storing one that's still partially full long-term. Though it may be tempting to save space, do not store fuel canisters in pots, as it can cause rust to form. Instead, nest your pots so they're dry and compact, and if your stove allows it, disassemble it for storage so the seals aren't sitting under tension all winter.

Wash: First, you need to know if your parka is down or synthetic. A technical down wash, like Nikwax Down Wash or Grangers Down Wash, is made specifically for down insulation and is the right choice for a real down parka. Using it on a synthetic-fill parka won't do any harm, but it's not necessary. Synthetic insulation does fine with a regular technical wash. Either way, use a gentle cycle, and if it's down, a few tennis balls or dryer balls in the dryer on low heat will help break up clumping as it dries.
Inspect: Feel around for cold spots or thin patches where the fill has shifted, check the baffle stitching for any coming apart, and look for fill poking through the shell fabric.
Repair: Small tears can be patched with seam tape or a repair patch before more fill escapes. If the down has clumped after washing, you can usually redistribute it by hand, working it back into place section by section.
Replace Signal: Clumping right after a wash is often normal and usually works itself out as the jacket finishes drying and gets a good shake or two. What you actually want to watch for is loft that won't recover even after a full wash-and-dry cycle, or insulation loss you can feel through the shell. That's a signal the fill has broken down for good.
Store: Keep it uncompressed. Hang it or store it loosely folded, never stuffed into a stuff sack for the whole off-season, since compressed insulation loses loft over time.

Wash: Technical wash strips away the body oils and dirt that build up over a season and quietly kill the durable water repellent (DWR) coating. A warm tumble dry afterward actually helps, since the heat reactivates the coating.
Inspect: After washing, run a quick water test: splash some water on the shell and see if it beads up or soaks in. Also check the seam tape at the edges for peeling, look at the zipper coating for wear, and make sure the pit zips still move freely.
Repair: If water isn't beading anymore, a spray-on or wash-in DWR treatment can often bring it back. Peeling seams can be resealed with seam grip, and a worn zipper pull is a simple fix.
Replace Signal: DWR that won't come back even after reproofing is a sign to replace. Some people suggest that breathability is also a sign, but trickier to determine. Most shells don't feel especially breathable even brand new, and how breathable a jacket feels depends a lot on the conditions you're in that day, not just the jacket itself. For that reason, we wouldn't lean too hard on breathability alone as your signal.
Store: Hang it rather than folding it into tight creases, which can crack the coatings over time, and keep it out of direct sunlight.

Climbing pants, base layers, and midlayers all take a bit of a beating over a season, and most of their care is about following the fabric, not a single blanket rule.
Wash: Merino wool and synthetic fleece need different handling, so check the care label rather than treating everything the same. Skip fabric softener on technical fabrics, since it can coat the fibers and reduce their performance. Turning pieces inside out before washing helps protect the face fabric.
Inspect: Look at the knees and seat of your pants for abrasion, check midlayers for pilling, test the waistband and cuff elastic for stretch that's held up, and run the zippers on any softshells.
Repair: Pants can take an iron-on or sew-in patch at a worn spot. Pilling can be trimmed off midlayers to extend their life. Worn-out drawcords are a quick and cheap swap.
Replace Signal: Fabric that's gone thin at the high-wear points like knees or inner ankles, elastic that's lost its stretch for good, or a persistent odor that won't wash out (usually bacteria embedded deep in synthetic fibers) are all good reasons to retire a piece.
Store: Fold rather than compress. If you're storing wool pieces, cedar or lavender sachets help keep moths away over the off-season.
Still Have Questions?
Some of this is straightforward, and some of it, like judging rope damage or crampon sharpening, really benefits from an experienced eye. If you're ever unsure about a piece of gear, our door is always open. Give us a call and you'll talk to a real person who can help you figure out what you're looking at.


Leave a comment
All comments are moderated before being published.
This site is protected by hCaptcha and the hCaptcha Privacy Policy and Terms of Service apply.